
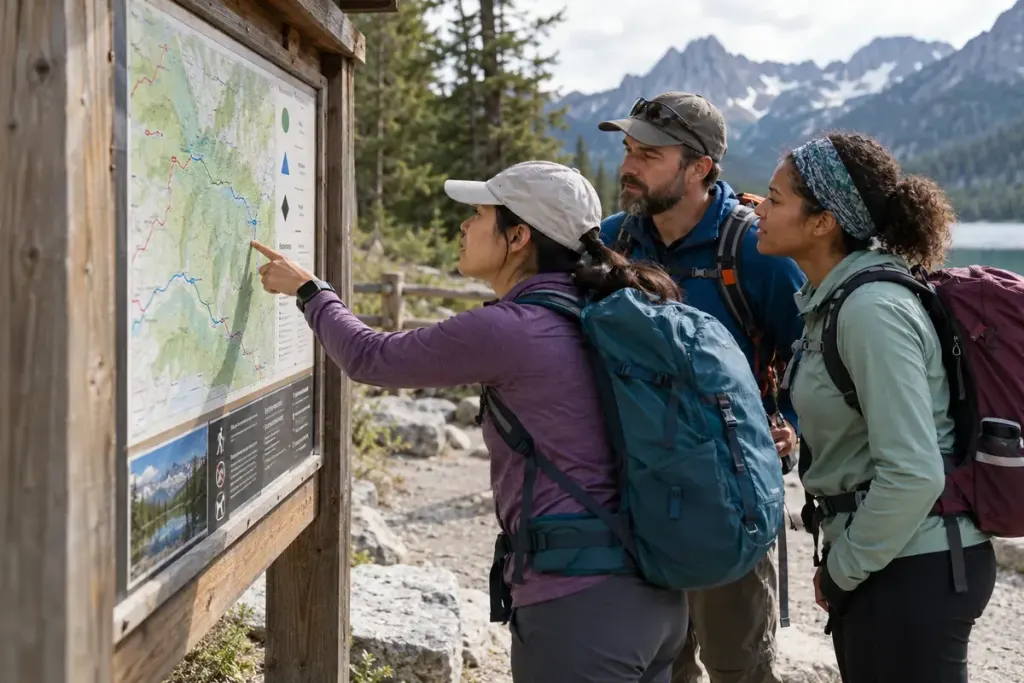
“Moderate” is a convenient label, but it is not a universal unit. One trail guide may combine distance and elevation gain, while another gives greater weight to terrain or technical obstacles. Read the scale behind the word before deciding that two routes are comparable.
Shenandoah National Park explains its hiking-difficulty method using distance and elevation gain while noting limitations. That local method helps interpret its own descriptions; it should not be assumed to govern every trail website or country.
Build a route note beyond the adjective
Record distance, ascent, surface, exposure, navigation demands, and current conditions. Check whether the distance is one way or a return total. A short steep route and a long gently climbing route can challenge walkers differently even if a guide gives them the same label.
As an illustrative comparison, imagine two six-kilometre walks: one on a maintained path with frequent exits, another on rough terrain with an exposed section and no easy shortcut. Matching distance alone does not make the second walk equally suitable for the same group.
Read the managing authority’s current notices for closures and hazards. Seasonal conditions can change the practical difficulty without changing the permanent grade printed on a sign. Allow for the experience, equipment, and pace of the whole group rather than only its fastest member.
Choose a turnaround plan before setting off and leave appropriate trip information with someone. If the description lacks the details needed to judge suitability, find a better source or choose a route with clearer information.
A difficulty label is a starting point for questions. The useful planning decision comes from understanding what produced the label and what the route will ask of you on the day.