How To Travel With Invisalign
I started my Invisalign journey back in March 2023 and pretty much had the whole shebang! With 21 resin ‘buttons’ and two metal buttons for elastic bands which I needed to wear for 18+ hours a day; I had a LOT to maintain!
For those who haven’t heard of Invisalign before, they are ‘smart track aligners’ that are made from clear medical-grade plastics. You are only allowed to remove them for up to 4 hours a day and change them between 7-10 days depending on your type of treatment and the recommendations from your orthodontists.
Since I started my treatment, I’ve travelled to Paris, St Lucia, New Zealand and have camped and done day hikes with them. It’s safe to say I’ve gained some experience, and though it was a little tough in the beginning to adapt to a new routine, it didn’t take too long to build up this habit.
Going through airports is easy-peasy. Heck, even being on planes isn’t too bad! Everyone there is using bathrooms for basic hygiene, especially on long-haul flights, so it’s not too odd to brush your teeth in the public bathrooms!
So that’s great, but what about out in the wild?
This isn’t as bad as you think it might be! Sure, there are no facilities, but you don’t NEED tons of water to brush your teeth now, do you?
All you need is your water bottle, toothpaste, toothbrush, retainer container and some trusty flossing harps! Also, when it comes to water you should always think about where you can fill up next. If you need to brush your teeth as well as make sure you’re drinking enough then it’s important to consider that too, but at most, it will be two small extra mouthfuls you’ll need.
If you’re worried about someone catching you while you’re brushing your teeth in the woods, then how are you going to feel about burying your poop? Honestly, it isn’t the most embarrassing thing you could be caught doing!
Best Toiletry Bags for Invisalign On The Move
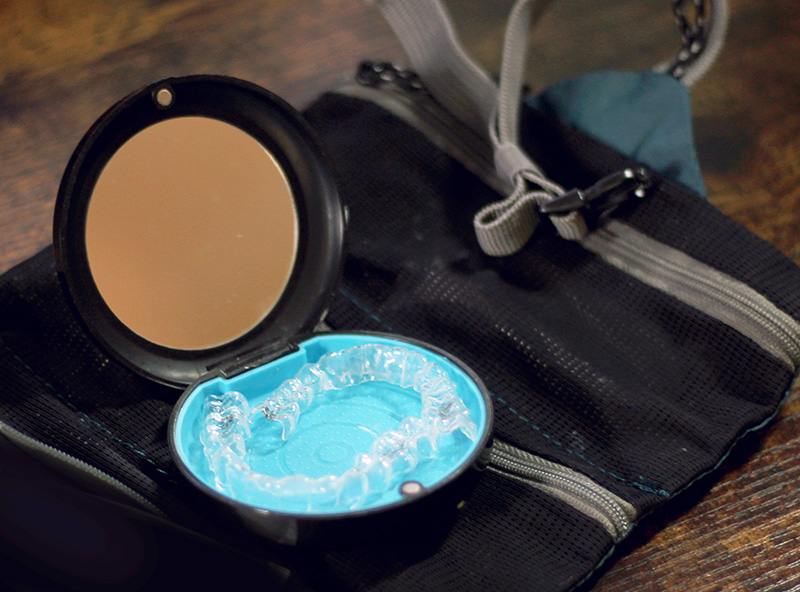
For carrying around my Invisalign kit, I managed to find a great little bag from Decathlon – The Ultra Light and Compact Toiletry Bag, for £9.99 ($13 USD). It rolls up nice and tidily, and has 3 compartments to separate the fiddly flosses from the toothbrushes and toothpaste. On top of that, it perfectly fits my aligner container into it too!
Talking about containers, as you can see from the photo, this one comes with a mirror. Typically the ones the orthodontist provides will be the cheaper version of Invisalign’s own branded case. The mirror in the one I have can be particularly helpful for those of us who do have to wear elastic bands every day!
The BVN Retainer Case is well made and can be found on Amazon for a sweet total of £8.99 ($12 USD)! It has an inner rubber lining that can be removed for ease of cleaning the case out thoroughly.
Toothpaste time!
I keep toothpaste tubes in small sizes. This makes it both easier and lighter to pack! If you’re concerned about spitting chemicals out into the environment, there are tons of eco-friendly toothpaste you can purchase now. What I tend to do is buy a larger toothpaste and just squeeze it carefully into a smaller tube to use on my travels, which saves a little money too!
Flossing with Invisalign
Flossing is dead-important with Invisalign. I mean…It’s important for NORMAL dental hygiene, but with trays over your teeth, there is less chance for small bits of debris to break apart and fall away. They will just stay in your teeth and the sugars will begin to eat away or build up plaque.
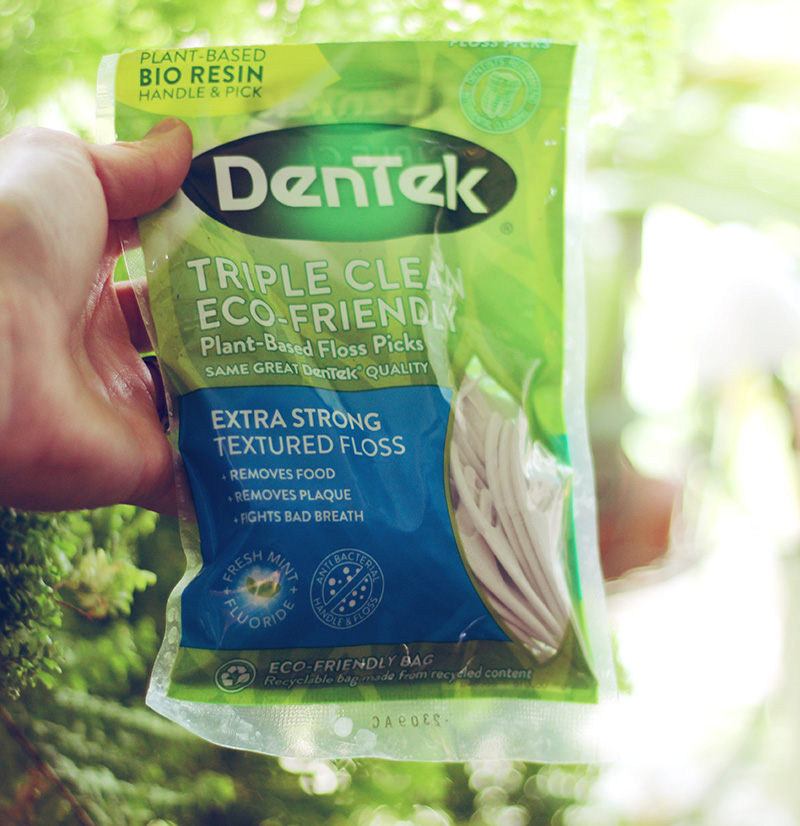
I have a heck of a time with regular floss, so I use these DenTek Tripple Celan Eco-Friendly floss harps which work up a treat! I also love the fact that the bag is made from recycled material, and both the bag and harps can be recycled after you’re done with them, so it’s a win-win all around!
To top it off, you get TONS of harps in this bag, so with all these benefits I certainly believe it is worth paying £6.50 ($8.50 USD) for!
I tend to just take a small handful of these and put them in the top compartment of my toiletry bag along with some tweezers to help with installing my elastic bands at night time.
How about soaking my Invisalign trays?
Now, whether you’re at the beginning of your Invisalign journey, or well on your way through it, you may notice that if you leave your trays out for a couple of hours they can start to taste or smell pretty nasty.
The trick to resolving this issue is to soak them in water whenever you have them out for long periods (more than 30 minutes). Here’s how I do it:
Less than 30 minutes: Securely place your trays in your case, then when it is time to put them back in, brush your teeth, then brush and rinse your trays. Put trays in.
More than 30 minutes: Brush the trays down and clear away any spit, then soak them in cold water (definitely not hot or warm! This can deform the trays!). Then when you’re done eating, brush your teeth and put the trays back in right away.
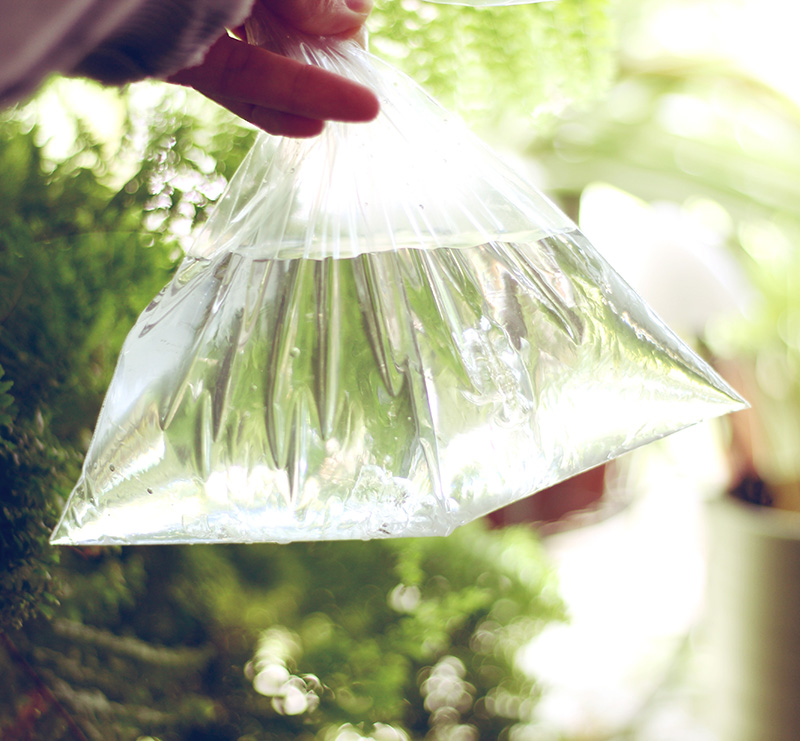
If you’re camping, a great and easy solution for soaking your Invisalign will be in a plastic bag tied up with a rubber band. A bit like when you buy a goldfish! This is super light-weight and takes up zero room in your pack!
What happens if you can’t brush your teeth?
This can be a bummer. I have found myself in this situation at some restaurants or cafes where there is only one toilet or one sink and a massive queue. It can be a little awkward when people are waiting to wash their hands and you’re like “SOWWY, WUN MINIT, I’M JUS’ BRUSHIN’ MUR TEEF”….It might also be a little rude!
In these circumstances, I tend to quickly go through my teeth with a floss harp, dry brush and then swish with water before putting my trays back in. It isn’t ideal, but it’s better than going over the 4-hour limit you have and risking the tracking messing up. I have also read that some people just swish water and put their trays back in without brushing, which probably is fine for a short amount of time until you can brush your teeth properly, but it definitely isn’t recommended to do this often. Additionally, if you don’t brush properly you can risk staining your trays and having to put up with dirty looking teeth until your next tray change.
Something you can do to help your trays if you are pushed into this situation is to soak them for 10 minutes in water using dental tablets. These will foam up in the water and dissolve any debris and plaque that has rubbed off onto the trays. While they get treated, be sure to thoroughly clean your own teeth too and get rid of any sugar build-up!
Now…Happy Wanderings!
Don’t let Invisalign stop you from going on your adventures! It may take you a little longer to brush your teeth, and you may learn to eat your food quicker, but that’s all part of the experience! We are adaptable animals, so go out and kick butt no matter what life throws at you!