
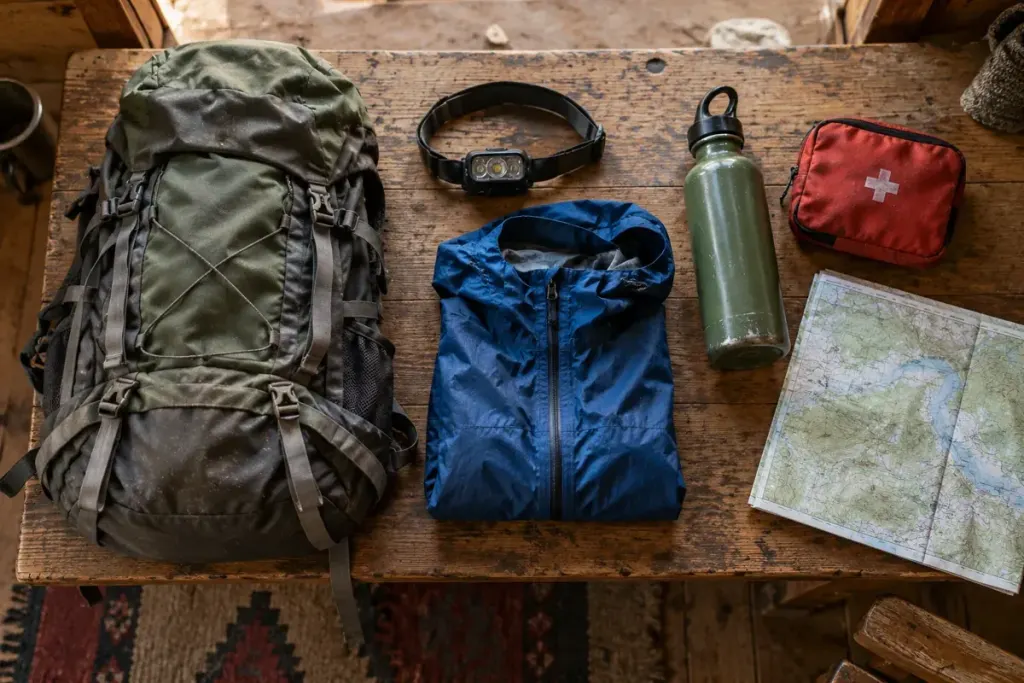
A daypack can be full without being useful. Several small gadgets may take up space while the item you would need after a delayed return is still in a drawer at home. Instead of starting with a shopping list, start with the problems the outing could present.
This is a planning exercise for a suitable day hike, not a complete equipment specification for every environment. Remote, winter, technical and water-based trips can require additional skills and specialist preparation.
What if the return takes longer?
Think about light, food and the ability to remain comfortable during a delay. Check that any light you carry works and that you know how to operate it. A device with a charged battery at home can still be difficult to find in the bottom of a dark bag.
The National Park Service’s Ten Essentials groups preparation into systems such as navigation, illumination, insulation and emergency shelter. Treat it as a framework to adapt to your route and conditions, rather than a promise that owning ten objects makes a trip safe.
What if the weather is different?
Review the forecast for the area and elevation you will visit. Consider exposure along the route, not only the temperature at the car park. Pack appropriate layers and protection, keeping critical items accessible and protected from water where needed.
Try the arrangement before leaving. Can you reach a rain layer without unpacking lunch onto wet ground? Does the pack remain comfortable when it contains the water you intend to carry? Small inconveniences at home can become larger ones after several hours outside.
What if the route becomes unclear?
Bring appropriate navigation resources and the ability to use them. Check that digital information is available offline where needed, and understand the limitations of batteries, signal and the mapping data itself. A saved screenshot may omit the junction or escape route you later need.
In a hypothetical walk, the planned loop is closed at a junction. The useful preparation is knowing your safe alternatives and turnaround decision, not simply having a phone somewhere in the bag. Our trip-plan guide covers the decisions to make before that moment.
What can you actually use?
Inspect the first-aid supplies and other equipment you choose for the outing. Replace missing or expired items where applicable and keep any personal medication according to its instructions. Training matters: carrying a tool or kit does not establish the skill to use it safely.
Avoid adding unfamiliar specialist equipment simply because a generic list mentions it. Select items appropriate to the trip and get competent instruction when the activity requires it. Some conditions call for changing the route rather than making the bag heavier.
Finish with a practical check
Lay out the contents, then pack in the order you expect to need them. Confirm the route information, weather, contacts and return plan separately. After the walk, note what was useful, what was awkward to reach and what was missing.
The aim is a pack with a reason behind its contents. That makes the next preparation calmer and helps you distinguish a genuine need from another attractive piece of equipment.